The Piccolo Teatro di Milano – Teatro d’Europa, the first Italian public theatre, is located in the heart of Milan. It was founded on 14 May 1947, when, in the aftermath of the war, the city was seeking out new spaces for culture and renascence.
This adventure was set in motion by three great figures: the director Giorgio Strehler, the organiser Paolo Grassi, and Nina Vinchi, who passionately handled the administrative side.
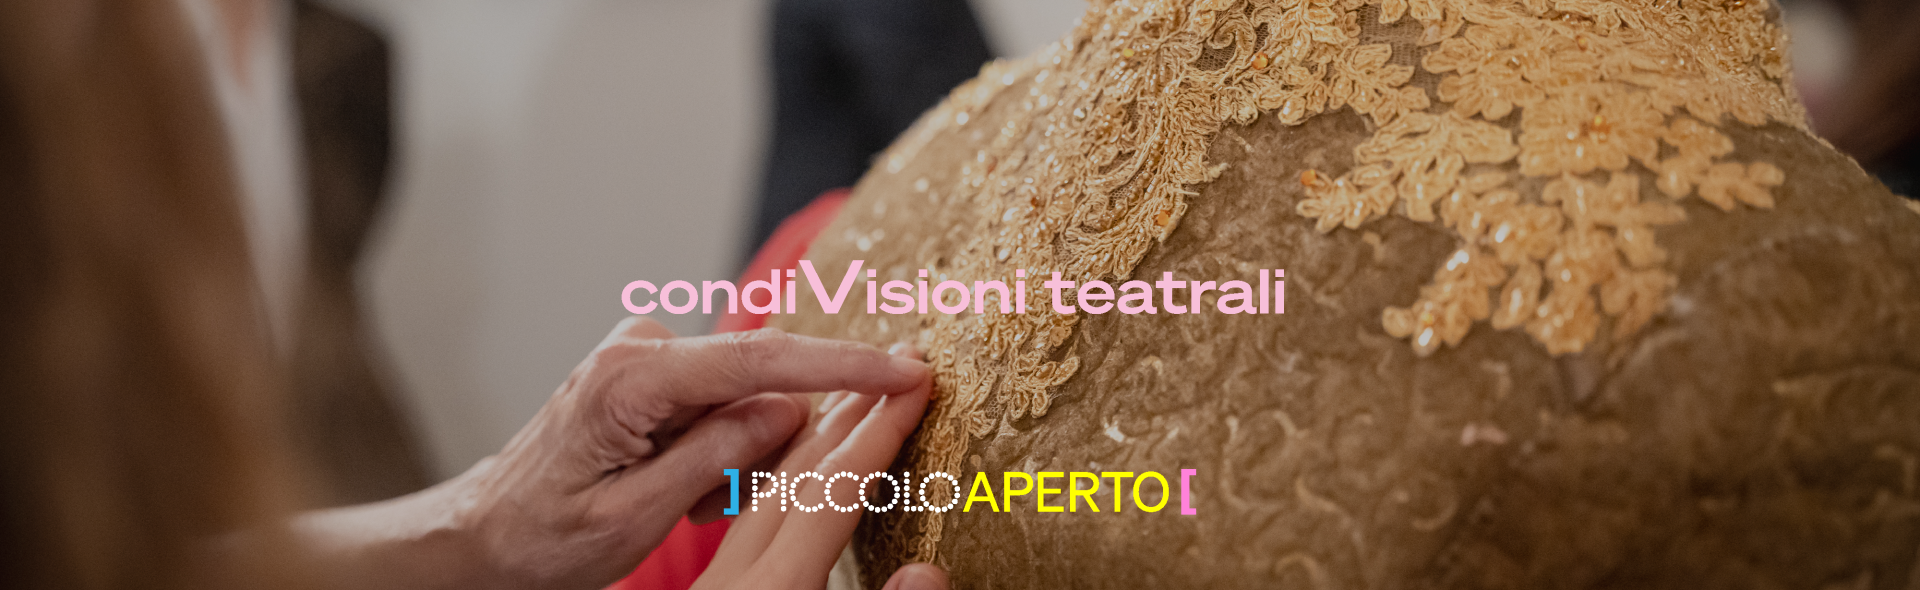
From the very beginning, Piccolo was much more than a theatre: we were a place of encounter and community, true to our motto “An Art Theatre for Everyone”. Over our almost 80 years of activity, we have produced more than 450 shows, from the great classics of European theatre to new dramaturgy, with productions that have become part of history the world over.
We have hosted and produced works by the greatest international directors and performers, gaining a standing as a global stage. Today, we continue to strengthen our European vocation, developing new networks and projects shared with the leading international theatres.
Today, the Piccolo is not only a venue for performances but also a permanent cultural laboratory, in constant dialogue with the city and with Europe. Our projects represent a combination of education, research, memory and innovation, carrying forward the ideas of the founders: a theatre at the service of art and of the community.
It is precisely within this framework of openness, experimentation, and international exchange that our major cultural initiatives take shape. Among them is the Presente Indicativo International Theatre Festival, whose third edition Milano Crocevia, taking place from 14 to 31 May 2026, will be a true “festival of festivals”, hosting shows from the most important European events, exploring stories, artists and communities through tradition and contemporary perspectives. The performances will be accompanied by a programme of encounters with artists, book presentations, concerts and DJ sets, transforming Milan into a great international stage, a point of convergence for cultures and languages.
Plan your visit and get all the useful information below:
HOW TO REACH US
Teatro Grassi
Via Rovello 2, Milan
Tram lines 1, 2, 12, 14, 16, 19 – M1 Metro Station Cordusio, M1 Metro Station Cairoli
Teatro Strehler
Largo Greppi 1, Milan
Tram lines 2, 4, 12, 14 – Buses 57, 61 – M2 Metro Station Lanza
Scatola Magica c/o Teatro Strehler
Largo Greppi 1, Milan
Tram lines 2, 4, 12, 14 – Buses 57, 61 – M2 Metro Station Lanza
Teatro Studio Melato
Via Rivoli 6, Milan
Tram lines 2, 4, 12, 14 – Buses 57, 61 – M2 Metro Station Lanza
Chiostro Nina Vinchi
Via Rovello 2, Milan
Tram lines 1, 2, 12, 14, 16, 19 – M1 Metro Station Cordusio, M1 Metro Station Cairoli
WHERE AND HOW TO PURCHASE
On-line on piccoloteatro.org
It is possible to purchase subscriptions, and full-price or discounted tickets.
Tickets can be purchased up to one hour before the beginning of scheduled performances.
Teatro Strehler box office
Largo Greppi 1, Milan
From Mondays to Saturdays 12.30PM–6PM
Closed on Sundays and public holidays
Payment can be made by credit card, Bancomat, Carta Cultura Giovani, Carta del Merito and Carta del Docente
The box offices for the three theatres are exclusively for the scheduled performance, from one hour before it is due to begin.
Box office line +39 02 21126116
From Mondays to Saturdays 12.30PM–6PM
Closed on Sundays and public holidays
Payment can be made by credit card, Carta Cultura Giovani, Carta del Merito and Carta del Docente
Purchased tickets cannot be cancelled or substituted or be used for dates or times which differ from those indicated.
PICCOLO OPEN: YOUR EXPERIENCE AT THE PICCOLO, IN ENGLISH
Weekend performances with surtitles
A programme of productions with Italian and English surtitles on selected weekend dates.
Discover all our surtitled performances on the Accessibility page of our website.
English translation for cultural events
Follow talks, book presentations and Oltre la scena events in English through our dedicated web app: for a selection of events hosted in the conference area of the Chiostro Nina Vinchi, an automatic translation service is provided in Italian and English, using the Converso® technology. Scan the dedicated QR code to access the translation on your mobile phone – available as subtitles or simultaneous translation through earphones (for this option, the use of personal earphones is required).
English versions of our theatre programmes
Read the theatre programme notes for our productions in English. A card with a QR Code is available in the foyer, providing access to the Edizioni Piccolo Teatro App, which can be downloaded free of charge from the App Store and Google Play.
AUDIENCE SERVICES
Each auditorium has a free cloakroom service and a bar.
The Chiostro Nina Vinchi, adjacent to the Teatro Grassi, houses the Piccolo Café & Restaurant, which is open from Mondays to Sundays at the following times: Mondays 8AM-8PM; from Tuesdays to Fridays 8AM-12PM; Saturdays 10AM-12PM; Sundays 10AM-8PM.
The three theatre foyers also each have a small bookshop managed by Libreria Antigone selling the books from our publishing house as well as a selection of books dedicated to the season’s shows (Bancomat and credit card accepted).
SPOTLIGHT ON PICCOLO IN THE OUTLOOK TRAVEL GUIDE
Piccolo is featured among the highlights in Outlook Travel Magazine’s Milan Travel Guide. Swipe the pdf below to unfold an essential destination for anyone visiting Milan – not only to attend a play, but also to discover an institution that for almost 80 years has been fulfilling its mission as “An Art Theatre for Everyone”, while keeping its sights firmly set on the future.